Optimizing Your Home Studio Acoustics for Downtempo Production
Read Time:5 Minute, 54 Second
Optimizing Your Home Studio Acoustics for Downtempo Production
Downtempo music thrives on subtle textures, deep bass, and intricate soundscapes. To truly capture and refine these elements, the acoustic environment of your home studio is just as crucial as the quality of your gear. Even the most expensive studio monitors will mislead you if your room isn’t treated properly, making it challenging to achieve accurate mixes that translate well outside your studio.
As an Amazon Associate, we earn from qualifying purchases.
This guide will walk you through practical steps to improve your home studio acoustics, ensuring your downtempo productions sound as crystal clear and impactful as you intend.
Why is Acoustic Treatment Important for Downtempo?
Downtempo music often features rich, sustained basslines and atmospheric pads, which are particularly susceptible to room anomalies. Untreated rooms can cause bass frequencies to build up in corners, creating an inaccurate low-end representation. Mid-range frequencies might sound muddy, and high-end details can be masked by unwanted reflections. This leads to mixes that sound great in your studio but fall apart elsewhere.
Proper acoustic treatment creates a more neutral listening environment, allowing you to hear your music more accurately. This means better mixing decisions, improved stereo imaging, and ultimately, a more polished and professional-sounding final product that truly showcases the depth and subtlety of your downtempo tracks.
Understanding Your Room: The First Step in Studio Setup
Before buying any acoustic products, take some time to understand your recording environment. Every room has its own unique acoustic signature, influenced by its dimensions, materials, and contents. Clap your hands in your room and listen to the decay and flutter echoes. This simple test can give you an initial idea of how lively or dead your room sounds. Small, square rooms are often problematic due to standing waves and flutter echoes.
Consider where you place your listening position and studio monitors. Ideally, you want to be positioned symmetrically in the room, away from walls. For more insights on optimal speaker placement, check out our guide on understanding studio monitor placement.
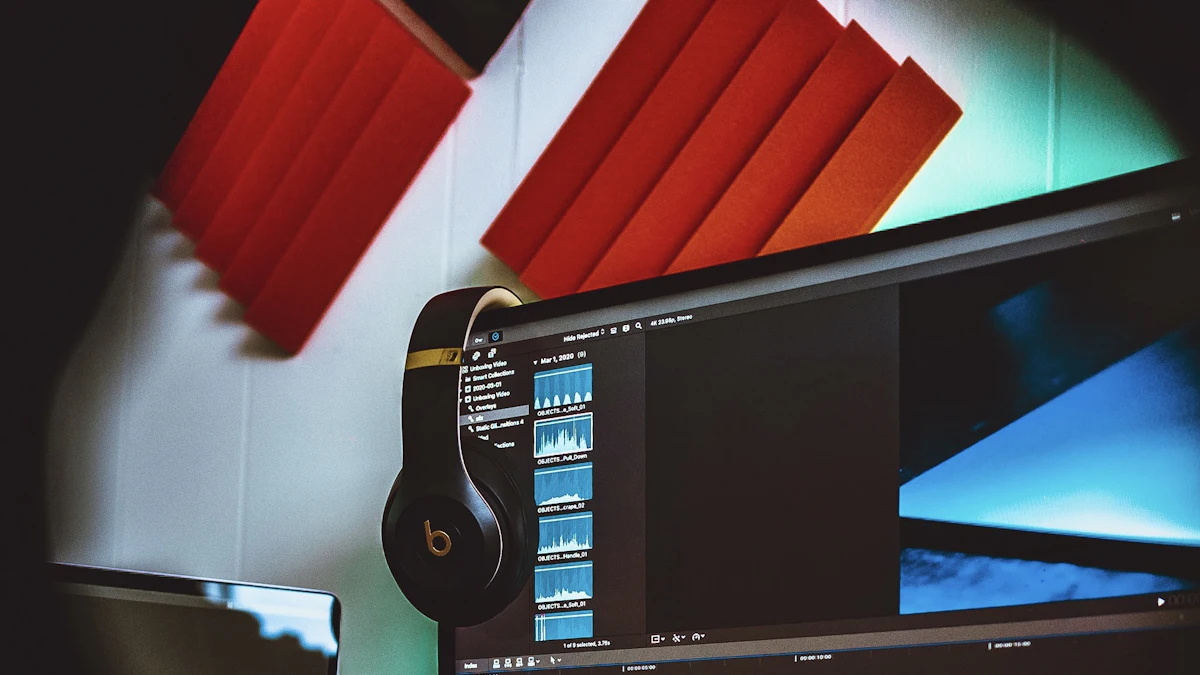
Essential Acoustic Treatments for a Home Studio
To create an optimal listening and mixing environment, a combination of absorption, bass trapping, and diffusion is typically required. Here’s a breakdown of the key elements:
Absorption: Acoustic Panels and Studio Foam
Absorbers are designed to reduce reflections, flutter echoes, and reverb time, making your room sound tighter and clearer. They are typically made from porous materials like mineral wool, fiberglass, or acoustic foam.
- Acoustic Panels: These are highly effective for taming mid and high-frequency reflections. They should be placed at primary reflection points – the spots on your walls and ceiling where sound bounces directly from your speakers to your ears.
- Studio Foam: While less effective than dense panels for broad-spectrum absorption, foam can be useful for reducing high-frequency flutter and can be a budget-friendly starting point.
Bass Traps
Bass frequencies are the most challenging to control in a small room. They tend to build up in corners, creating an uneven and often exaggerated low-end response. Bass traps are specialized absorbers designed to absorb low frequencies and are crucial for any serious room treatment plan. They are most effective when placed in corners where walls meet, and where walls meet the ceiling.
Diffusion
While absorption reduces reflections, diffusion scatters sound waves, preventing them from building up in one spot while maintaining a sense of spaciousness in the room. Diffusers are typically used on the rear wall of your studio, behind your listening position, or on side walls where absorption might make the room sound too dead. They are especially beneficial in larger rooms but can be used judiciously in home studios.
Monitor Isolation Pads
Even if your room is acoustically treated, vibrations from your studio monitors can transfer to your desk or floor, coloring the sound. Monitor isolation pads or stands decouple your speakers from their resting surface, preventing unwanted resonances and providing a clearer, more accurate low-end response. This is a simple yet very effective step in improving your home studio acoustics.
You can find a wide range of these acoustic treatment products to enhance your recording environment on Amazon: Shop for acoustic panels, bass traps, diffusers, studio foam, and monitor isolation pads.

How Can I Improve My Room’s Sound on a Budget?
You don’t need to break the bank to start improving your home studio acoustics. Here are some budget-friendly strategies:
- DIY Acoustic Panels: Building your own acoustic panels using materials like Rockwool or Owens Corning 703/705 can be significantly cheaper than buying pre-made ones. We have a detailed guide on DIY acoustic panels for your studio.
- Furniture and Soft Furnishings: Bookshelves filled with books, thick curtains, rugs, and upholstered furniture can all contribute to absorbing sound reflections, especially in the mid and high frequencies.
- Strategic Placement: Simply optimizing your speaker and listening position can make a big difference, often without costing a dime.
- Start with the Essentials: Prioritize bass traps for corners and acoustic panels at first reflection points. These have the most significant impact on overall sound clarity.
Where Should I Place Acoustic Panels and Bass Traps?
Strategic placement is key for effective acoustic treatment:
- Bass Traps: Always start with the corners of your room – floor-to-wall corners and wall-to-wall corners. These are the areas where low frequencies accumulate the most. The more bass traps you can add, especially in the front of your room, the better your low-end accuracy will be.
- First Reflection Points (Side Walls): Sit in your listening position and have a friend hold a mirror against your side walls. Wherever you see the reflection of your studio monitor in the mirror, that’s a first reflection point. Place an acoustic panel there.
- First Reflection Point (Ceiling): Repeat the mirror test for the ceiling directly above your listening position. A cloud panel on the ceiling above your head can dramatically reduce early reflections and improve stereo imaging.
- Rear Wall: Depending on your room size and desired sound, the rear wall can benefit from either absorption (especially if it’s close to your listening position) or diffusion. Diffusion can help maintain a sense of space without creating echoes.
- Front Wall: Placing absorption behind your monitors on the front wall can help reduce reflections coming back into the microphones if you’re recording vocals or instruments, and can also minimize boundary interference for your speakers.
Remember, a well-treated home studio acoustics is an ongoing process. Start with the most impactful treatments and gradually refine your recording environment as needed. For other essential gear to complete your setup, refer to our guide on essential gear for a downtempo home studio.
Conclusion
Investing time and effort into optimizing your home studio acoustics is one of the most impactful improvements you can make to your downtempo production workflow. By understanding how sound behaves in your space and implementing strategic acoustic treatment, you’ll gain the confidence that your mixes are accurate, balanced, and ready to impress. Don’t let your room be the weakest link in your production chain; give your music the clear canvas it deserves.


Happy
0 %

Sad
0 %

Excited
0 %

Sleepy
0 %

Angry
0 %

Surprise
0 %
 0
0
 0
0