 0
0
 0
0
For the true audiophile, a dedicated listening room isn’t just a luxury; it’s the ultimate sanctuary for experiencing music as the artist intended. Moving beyond general living spaces, a purpose-built audio room allows for meticulous optimization, removing the compromises often found in multi-use environments. If you’re ready to create your personal sonic haven, this comprehensive guide will walk you through the essential steps, from initial planning to final calibration, ensuring every note resonates with clarity and precision.
As an Amazon Associate, we earn from qualifying purchases.
Why a Dedicated Listening Room?
Unlike a living room or a den, a dedicated listening room is engineered from the ground up to prioritize sound quality above all else. This means you can control environmental factors like lighting, minimize external noise, and most importantly, apply specific acoustic treatments without aesthetic compromises. The result is a soundstage that opens up, instruments that gain clearer separation, and a deeply immersive experience that elevates your enjoyment of music to new heights.
Phase 1: Planning and Room Selection
The journey begins with choosing the right space and mapping out your vision. Even if you’re working with an existing room, approaching it with a fresh perspective is key.
Choosing the Right Space
- Size and Dimensions: Generally, larger rooms offer more flexibility for speaker placement and acoustic treatment, reducing the impact of primary room modes. Rectangular rooms with non-symmetrical dimensions (e.g., length, width, height ratios that avoid simple multiples) are often preferred to minimize standing waves.
- Isolation: Consider external noise sources (traffic, neighbors) and internal ones (HVAC, plumbing). Ideally, choose a room furthest from high-traffic areas or noisy appliances. Soundproofing measures can be considered if isolation is a major concern.
- Power: Ensure adequate, clean power. Dedicated electrical circuits for your audio equipment can significantly reduce noise and improve performance.
Phase 2: Acoustic Treatment – The Foundation of Great Sound
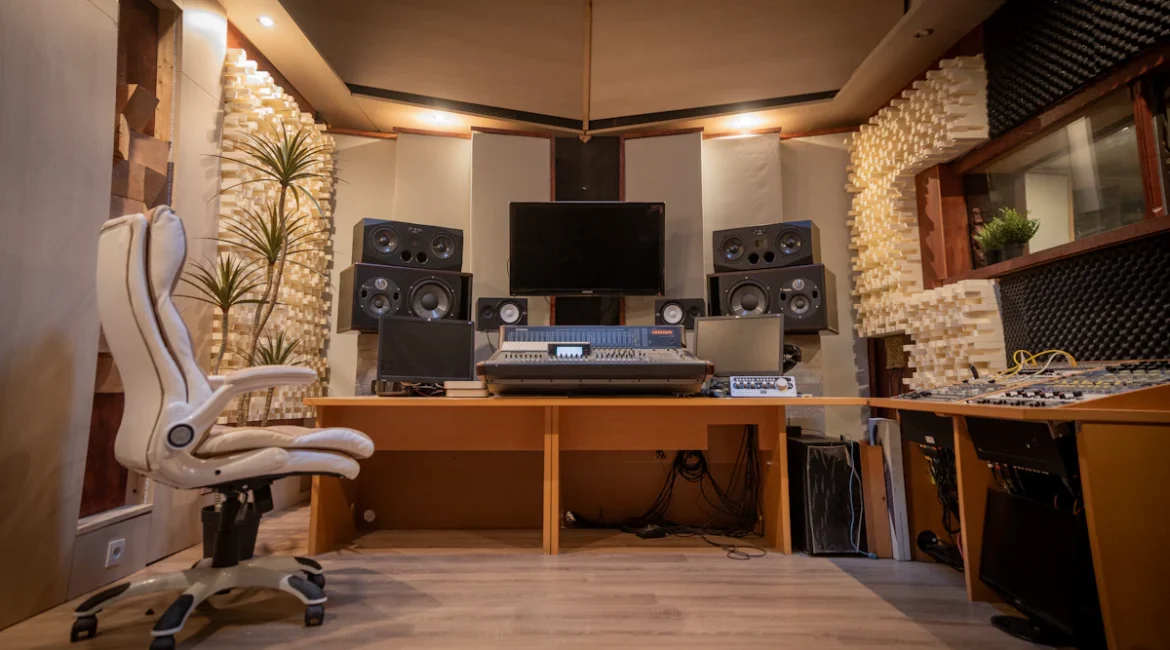
This is arguably the most critical phase. Even the most expensive equipment will sound poor in an acoustically untreated room. Acoustic treatment tames reflections, controls reverberation, and creates a neutral listening environment. To dive deeper into the science, read our guide on understanding room acoustics for better sound.
Addressing Key Acoustic Issues
- First Reflection Points: These are areas on your walls and ceiling where sound reflects directly from your speakers to your listening position. Applying absorption panels at these points is crucial for stereo imaging and clarity.
- Bass Traps: Low-frequency sounds are the hardest to control and tend to build up in room corners, causing muddiness. Bass traps are essential for taming these resonances and achieving tight, accurate bass.
- Diffusion: While absorption reduces reflections, diffusion scatters sound, preserving the room’s liveliness without creating harsh echoes. Diffusers are often placed on the rear wall or side walls behind the listening position.
- Reverberation Time: Aim for a balanced reverberation time suitable for listening. Too much absorption can make a room sound “dead,” while too little creates a cavernous echo.
Many audiophiles start their acoustic treatment journey by exploring various acoustic panels and sound diffusers available to help manage room reflections and resonances effectively.
Phase 3: Speaker Placement – The Sweet Spot

Once your room’s acoustics are managed, precise speaker placement becomes paramount. Even small adjustments can make a significant difference to imaging, soundstage width, and tonal balance.
The Setup Triangle
- Equilateral Triangle: A common starting point is to arrange your speakers and listening position in an equilateral triangle. The distance between the speakers should roughly equal the distance from each speaker to your ears.
- Distance from Walls: Experiment with placing speakers away from front and side walls to minimize boundary interference and bass bloat. Often, the “rule of thirds” (placing speakers one-third into the room’s length from the front wall) is a good starting point, but listen and adjust.
- Toe-in: Adjust the angle (toe-in) of your speakers towards the listening position. This impacts stereo imaging and high-frequency dispersion. Start with speakers firing straight ahead and gradually angle them in until you find the optimal balance.
- Height: Ensure the tweeters are roughly at ear level when seated in your primary listening position.
Phase 4: Equipment Considerations and Integration
With the room and speakers optimized, your audio components can truly shine. While a dedicated guide on choosing the right home audio components offers a deeper dive, here are key considerations for a dedicated space.
- Source Components: Whether you prefer a turntable, a high-resolution streamer, or a CD player, ensure your sources are high quality. For vinyl enthusiasts, consider integrating vinyl into your listening room thoughtfully for optimal playback.
- Amplification: Choose an amplifier (integrated or separates) that has enough power to drive your home audio speakers effectively and cleanly.
- Cabling: While debated, quality audio cables (speaker cables, interconnects) can ensure signal integrity. Keep cable runs tidy and away from power cords to minimize interference.
- Isolation: Consider vibration isolation platforms or footers for sensitive components like turntables and CD players to prevent microphonics.
Phase 5: Room Design, Comfort, and Aesthetics
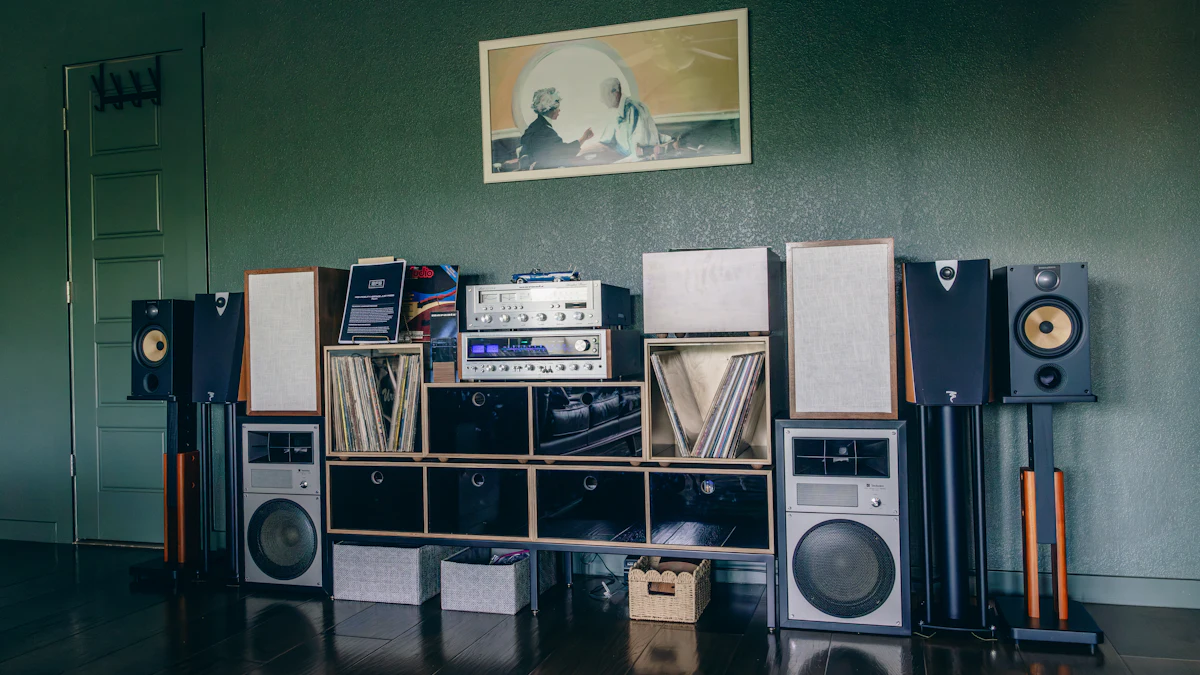
While sound is primary, comfort and aesthetics contribute to the overall experience. Your listening room should be a place you want to spend hours in.
- Seating: A comfortable, acoustically transparent chair is essential. Avoid overly plush seating that might absorb too much sound.
- Lighting: Implement adjustable lighting to set the mood. Dim lighting often enhances the listening experience.
- Clutter and Surfaces: Minimize reflective surfaces like glass tables. Bookshelves can act as diffusers, but avoid excessive clutter which can scatter sound unpredictably. Carpets or rugs help control floor reflections.
Phase 6: Calibration and Fine-Tuning
Once everything is in place, the final stage involves careful calibration and listening tests.
- Room Correction Software: Many modern receivers and preamplifiers include room correction software (e.g., Audyssey, Dirac Live, ARC). These systems measure your room’s acoustics and apply digital equalization to compensate for anomalies. While helpful, always trust your ears for final adjustments.
- Critical Listening: Listen to a variety of familiar music. Pay attention to imaging, soundstage depth, bass definition, and overall tonal balance. Make small, incremental adjustments to speaker placement, toe-in, and even component positioning until you achieve the most engaging sound.
Conclusion
Creating a dedicated listening room is a rewarding endeavor that transforms your relationship with music. It requires patience, attention to detail, and a willingness to experiment. By following these steps, from thoughtful planning and crucial acoustic treatment to precise speaker placement and component integration, you’ll craft a space where every note comes alive, offering an unparalleled auditory experience that truly justifies the effort.
FAQ
Question: What are the essential steps to setting up a dedicated listening room?
Answer: The essential steps include selecting the right room, applying comprehensive acoustic treatment (absorption, diffusion, bass traps), precise speaker placement and calibration, careful equipment selection and integration, and finally, fine-tuning for optimal sound and comfort.
Question: How important is acoustic treatment in a listening room?
Answer: Acoustic treatment is critically important. It addresses common room issues like excessive reflections, standing waves, and uneven bass response, which can severely degrade even the best audio equipment’s performance. It creates a neutral foundation that allows your system to deliver clear imaging, accurate tonal balance, and a deep soundstage.
Question: What equipment considerations are crucial for a dedicated audio space?
Answer: Beyond selecting high-quality speakers, source components (streamer, turntable, CD player), and amplification, crucial considerations include ensuring clean dedicated power, using quality cabling, and implementing vibration isolation for sensitive components. Compatibility between components and their synergy within the room are also key.


