Mastering the Art of Vinyl Cleaning and Maintenance for Longevity
Read Time:6 Minute, 45 Second
Mastering the Art of Vinyl Cleaning and Maintenance for Longevity
There’s a unique joy in dropping the needle on a beloved record, the rich, warm sound filling the room. But to truly appreciate your vinyl collection for years to come, mastering the art of cleaning and maintenance is absolutely essential. Dust, grime, and static can quickly degrade sound quality and even cause irreversible damage to your records and playback equipment. This comprehensive guide will walk you through the best practices to keep your vinyl pristine, ensuring optimal sound and extending the lifespan of your cherished albums.
As an Amazon Associate, we earn from qualifying purchases.
Why Vinyl Cleaning is Crucial for Your Collection
Beyond cosmetic appeal, regular record cleaning offers significant benefits. The grooves of a vinyl record are incredibly delicate, designed to interact precisely with your turntable’s stylus. Even microscopic dust particles or fingerprints can interfere with this interaction, leading to:
- Degraded Sound Quality: Pops, clicks, surface noise, and a muddy sound are often direct results of dirt in the grooves.
- Premature Stylus Wear: A dirty record acts like sandpaper on your stylus, accelerating wear and potentially causing it to damage other records.
- Extended Record Lifespan: Keeping records clean minimizes physical damage to the grooves, preserving their fidelity for decades.
- Protection for Your Turntable: A clean stylus and record mean less accumulated gunk on your cartridge and other sensitive turntable components.
Essential Tools for Effective Vinyl Cleaning
You don’t need a professional setup to start. A few key tools will make a world of difference:
- Carbon Fiber Record Brush: Essential for daily dry dusting. These brushes have fine fibers designed to reach into the grooves and neutralize static. Find a record brush on Amazon.
- Microfiber Cloths: Soft, lint-free cloths are crucial for applying cleaning solutions and drying records without leaving residue.
- Record Cleaning Solution: Avoid household cleaners. Opt for specially formulated solutions that are alcohol-free and designed for vinyl. Look for a vinyl record cleaner on Amazon.
- Stylus Cleaning Kit: A small brush or gel specifically designed for cleaning your turntable’s stylus. Keep your stylus clean with a dedicated cleaner from Amazon.
- Distilled Water: If your cleaning solution requires rinsing, always use distilled water to prevent mineral deposits from tap water.
- Record Cleaning Machine (Optional): For serious collectors, vacuum-based or ultrasonic record cleaning machines offer the deepest clean but represent a significant investment.
A Step-by-Step Guide to Cleaning Your Records
- Prepare Your Workspace: Ensure a clean, dust-free surface.
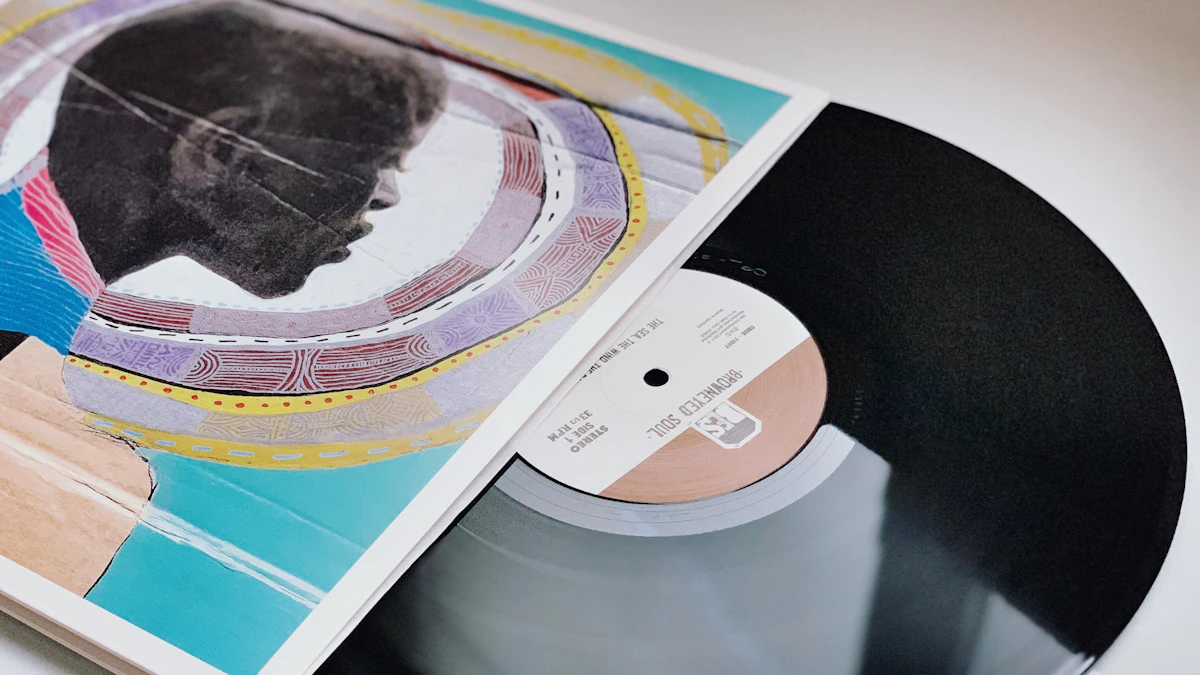
- Dry Brush First: Place the record on your turntable platter (turned off) or a clean, flat surface. Hold your carbon fiber brush gently against the grooves and let the record spin once or twice (or slowly rotate manually). This lifts loose dust and static.
- Apply Cleaning Solution: Spray or apply a small amount of your dedicated record cleaning solution to a section of the record. Follow the product’s instructions for quantity.
- Gentle Scrubbing: Using a separate clean microfiber cloth or a specialized record cleaning pad, gently wipe the solution in a circular motion, following the direction of the grooves. Do not scrub harshly. Work your way around the record.
- Rinse (If Required): If your solution necessitates rinsing, use a fresh microfiber cloth dampened with distilled water to wipe the record clean.
- Thorough Drying: Using another clean, dry microfiber cloth, gently dry the record completely. Ensure no moisture is left in the grooves.
- New Inner Sleeves: For heavily soiled records, consider replacing old paper inner sleeves with new anti-static inner sleeves after cleaning.
Beyond Cleaning: Maintaining Your Vinyl for Longevity
Cleaning is just one part of the equation. Proper handling and storage are equally vital.
Proper Handling
Always handle records by their edges or the label area. Avoid touching the playing surface, as oils from your skin can attract dust and leave fingerprints that are difficult to remove.
Storage Best Practices
How you store your records dramatically impacts their condition:
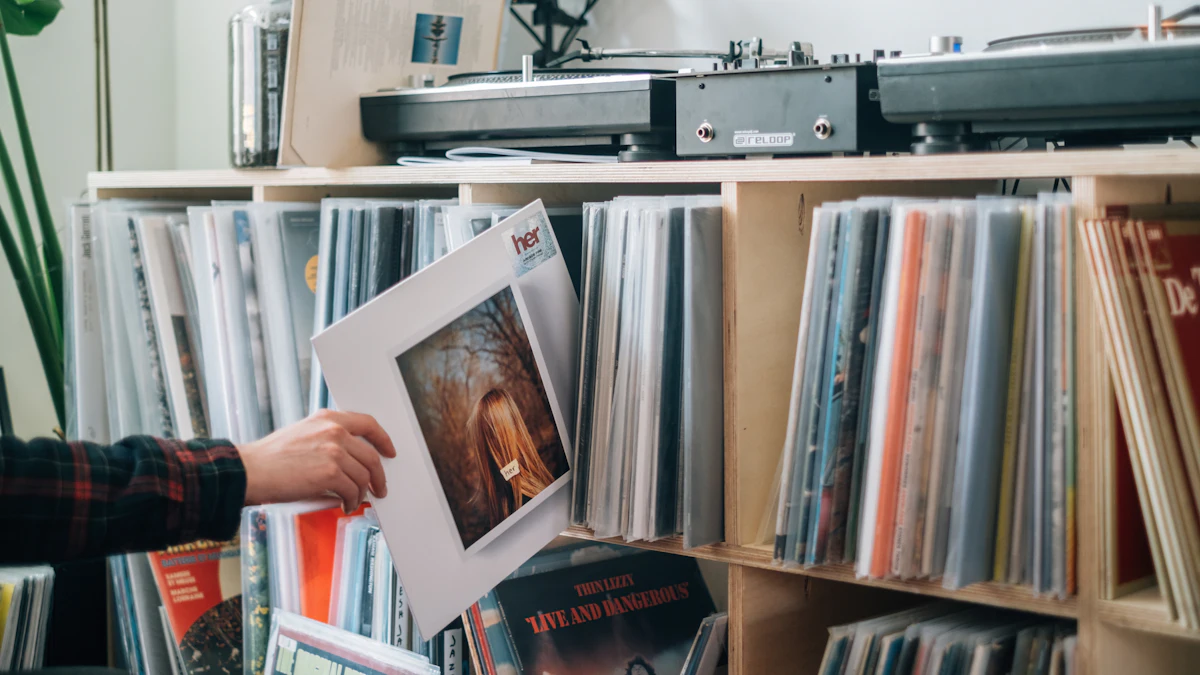
- Vertical Storage: Always store records vertically, like books on a shelf. Stacking them horizontally can lead to warping and groove damage.
- Cool, Dry Environment: Keep your collection away from direct sunlight, extreme temperatures, and high humidity, which can warp records and encourage mold growth.
- Anti-Static Inner Sleeves: Replace original paper sleeves with archival-quality, anti-static inner sleeves. Paper sleeves can create dust and scratch records over time.
Stylus Care
Your stylus is the bridge between your record and your sound system. A dirty or worn stylus not only sounds bad but can also damage your records. Regularly use a dedicated stylus cleaning brush or gel to gently remove accumulated dust and debris. For more on troubleshooting common turntable issues, including stylus problems, check out our guide.
How Often Should You Clean Your Records?
The frequency of cleaning depends on usage and environment:
- New Records: Even new vinyl can have manufacturing residues or paper dust from inner sleeves. A quick dry brush or even a wet clean is recommended before first play.
- Before Each Play: A quick pass with a carbon fiber brush is advisable before playing any record to remove superficial dust.
- After Heavy Play or Visible Dirt: If a record has been played many times, has visible fingerprints, or sounds noisy, a wet clean is in order.
- Periodically: Even records stored correctly can benefit from a deep clean every few months, especially if you notice a decline in sound quality.
Common Mistakes to Avoid in Vinyl Maintenance
To ensure your efforts are effective and don’t inadvertently harm your collection, steer clear of these common pitfalls:
- Using Household Cleaners: Windex, dish soap, or other household cleaners can contain harsh chemicals, abrasives, or residues that will damage vinyl and leave a film.
- Wiping Across Grooves: Always wipe with the grooves, not against them, especially during a wet clean. Wiping across can embed dirt or cause scratches.
- Ignoring Stylus Cleaning: A dirty stylus will undo all your record cleaning efforts by redepositing grime.
- Stacking Records: Never stack records horizontally, even for short periods. This is a sure fire way to cause warping.
- Using Damaged or Dirty Cloths: Always use clean, lint-free cloths. A dirty cloth will just redistribute grime or scratch the record.
- Over-Saturating Records: Too much liquid can seep into the label or even warp the record if not dried properly. Less is often more.
Conclusion
Caring for your vinyl collection is a rewarding process that significantly enhances your listening experience and protects your investment. By adopting these vinyl cleaning best practices and maintenance habits, you’ll ensure your records sound their best for many years to come. Dedicating a little time to proper upkeep will pay dividends in sonic enjoyment and the enduring beauty of your collection. If you’re just starting your vinyl journey or looking to upgrade your setup, don’t miss our guide on choosing the best turntables for beginners.
Frequently Asked Questions About Vinyl Cleaning and Maintenance
Why is vinyl cleaning important?
Vinyl cleaning is crucial because it removes dust, dirt, and oils from the record’s grooves, which can otherwise cause pops, clicks, surface noise, and significantly degrade sound quality. It also prevents premature wear of your turntable’s stylus and extends the overall lifespan of your records.
What tools do I need for vinyl cleaning?
Basic essential tools include a carbon fiber record brush for dry dusting, specialized vinyl cleaning solution, clean microfiber cloths, and a stylus cleaning kit. For more advanced cleaning, you might consider distilled water for rinsing or even a record cleaning machine.
How often should I clean my records?
It’s recommended to do a quick dry brush before every play to remove superficial dust. New records should ideally get a wet clean before their first spin to remove manufacturing residues. A deeper wet clean should be performed when records show visible dirt, fingerprints, or when you notice a decline in sound quality, typically every few months for regularly played albums.
What are common mistakes in vinyl maintenance?
Common mistakes include using household cleaners, wiping across the record grooves instead of with them, neglecting stylus cleaning, storing records horizontally (stacking), using dirty or abrasive cloths, and over-saturating records with cleaning solution. Avoiding these errors is key to effective maintenance.


Happy
0 %

Sad
0 %

Excited
0 %

Sleepy
0 %

Angry
0 %

Surprise
0 %
 0
0
 0
0